
My tabletop is all glued up and my mortises are almost done. Next it was time to make the tenons on the aprons that would go all the way around the table under the top. The tenoned aprons add extra strength and support to the table making it more rigid and sturdy. I had already squared and cut the boards, and the dimensions for the tenons had been pre defined in order to mark the mortises.

Using tenoning jig to make tenons on my table aprons
I used the table saw with a tenoning jig (the same device I used to make the slip feather joints for the wooden trays). Doug helped me set the blade to the right height and the fence to the right distance from the blade. I clamped the boards in one at a time and ran each side of each end through the saw slowly.

Little flappy pieces on each side of the tenon
This left little flappy pieces on each side of the tenon. To cut those off I set the blade just below the tenon and used a miter gauge to push the board through (I was cross cutting the wood with the width of the board greater than the length making this a dangerous maneuver without using the miter gauge to hold the board in place).

Using a miter gauge to cut flaps off tenon
We made one tenon then used it to test the miters to make sure they would fit. All but one fit. One would need to be made bigger due to the mortise being a bit on the wide side.
Also using the miter gauge I cut little indents into each side of the tenons and then used the band saw to cut from the end to the indents making the tenons smaller all around than the apron.
Once all the tenons were made it was time to clean out the mortises all the way. I decided which tenons would go in what mortises then marked them with letters to keep track of them. One at a time I chiseled out the excess wood on the inside of the mortises checking often how the matching tenon fit.
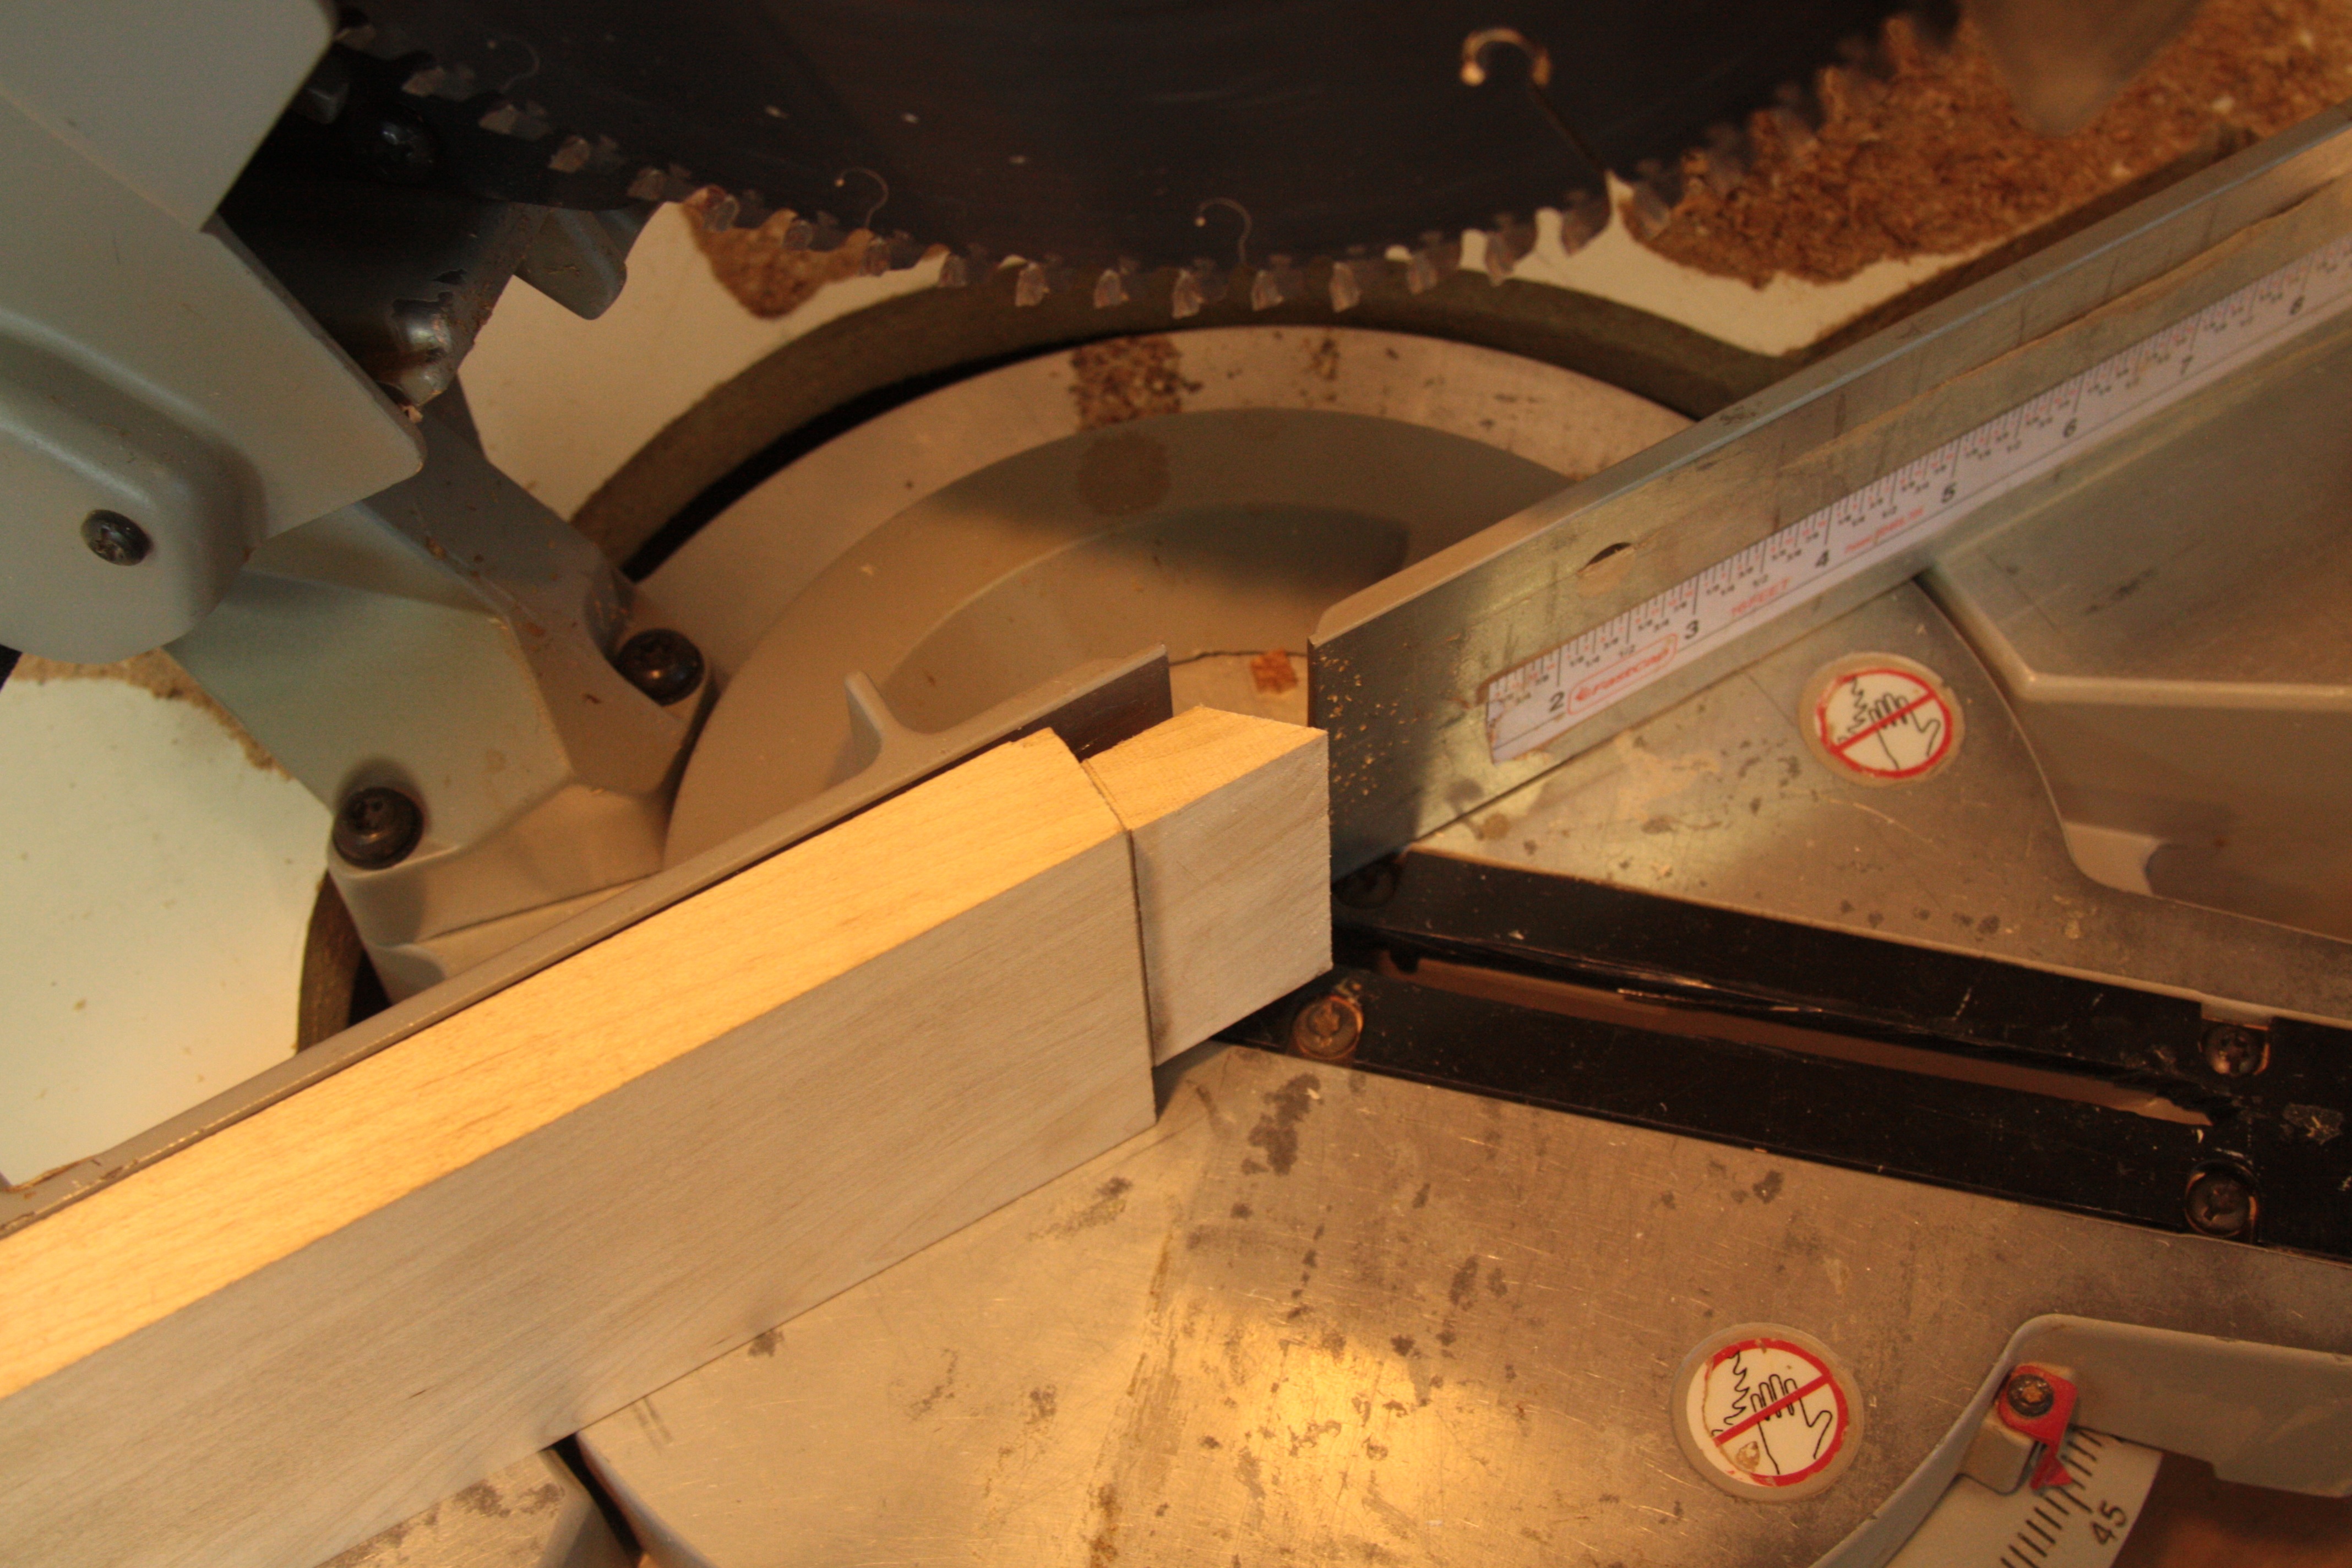
Cutting miter joints on the ends of my tenons
Doug had me make the tenons such that they would come together in a miter joint inside the mortise. This would give an extra gluing surface making the whole joint stronger. The tenons were longer than the depth of the mortises so once I had them all fitting so the tenon would hit the bottom of the mortise it was time to cut the miters. I did this one small cut at a time. I starting long then cut the miters down slowly checking them in the mortise each time until the shoulder of the apron fit flush against the leg.
One of my mortis joints was a little tight and after testing the tenon I tried to pull them apart. I rocked them back and forth and pulled and pulled but they wouldn’t budge. So with all of my weight over the mortise I held it down with one hand and with the other hand I pulled on the tenon with all my strength. Then WHAM, the tenon yanked free and slammed right into my face. For a split second I witnessed my body’s automatic fight or flight response take hold. Adrenaline kicked in and my muscles tensed; I was ready to attack whatever hurt me. Finally I came to my senses and realized my pain was self inflicted and there was no external threat. I was then able to calm down and asses the damage… my lip was swollen and sore, it had been cut on the inside as well as bleeding from a gash above my upper lip. I checked my teeth; they were still there and intact. Doug had gone inside his house a little while ago so I grabbed a tissue and headed in to tell him. His wife got me some ice and some gel to put on it. I left a little early that day to go home and nurse my wound. I was just really grateful that I had hit myself in the face with a piece of wood instead of misplacing my hand near a saw. The damage was minimal and would heal. This was just a lesson on how it is so important to pay attention to what you’re doing, where you’re body is, what the dangers are, and how to make it safe.
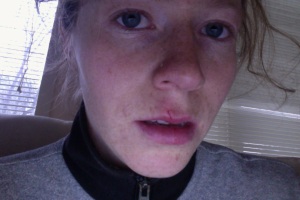
My swollen and split lip
Though my lip was still sore and swollen I went to the shop the next day and finished my mortise and tenons. And when they were all done I got to have a fulfilling moment when doing a dry fit of my table base. Doug helped me do this to make sure everything went together tightly with no gaps and aligned properly. I got to step back and look at the product of all my hard work so far. I still have a lot more to do but my table was taking form; it was becoming real and tangible.

Using a ruler and a clamp to make an arch in my aprons
I wanted to give the bottoms of my aprons and arch, so after making sure everything went together well Doug showed me a brilliant, easy way to make a perfect arch. He took a long ruler and put it in a clamp set to a shorter length than the ruler. This made a perfect, even arch which I was able to trace onto each apron. Then I took the aprons over to the band saw the cut as accurately as possible without touching the line I drew. Then I used the orbital sander to smooth the arches out and sand all the surfaces of the legs and the aprons.
Finally everything for the base was finished and ready to glue up. I did one last dry fit which I struggled with a bit on my own. To me everything seemed to fit well so I got Doug to help me glue it all up. This was stressful! I guess it didn’t fit as well as I thought because every joint we put together Doug commented on how it wasn’t fitting well. Then we checked that everything was square and measured the distance between the legs. The distance between the top of the legs and the bottom was off, so for some we clamped them closer and for others we stuck pieces of wood in between to push them apart. When we were finished Doug said, “That was not an easy glue up. It wasn’t the hardest I’ve done but it wasn’t easy.” Next time I will make sure to check my dry fit better so I can fix any problems before putting on the glue when there is no longer time to fix anything.

My table base all glued up and clamped
There it was, my base all glued up. What an accomplishment! It wasn’t perfect and my table wasn’t finished but I am now so much closer. I had setbacks, frustrations, and an injury but I worked through them and will continue to do so. I now have only one more week left, let’s see if I can finish everything.
